Easy Peasy and Fun Snowglobe Contact Paper
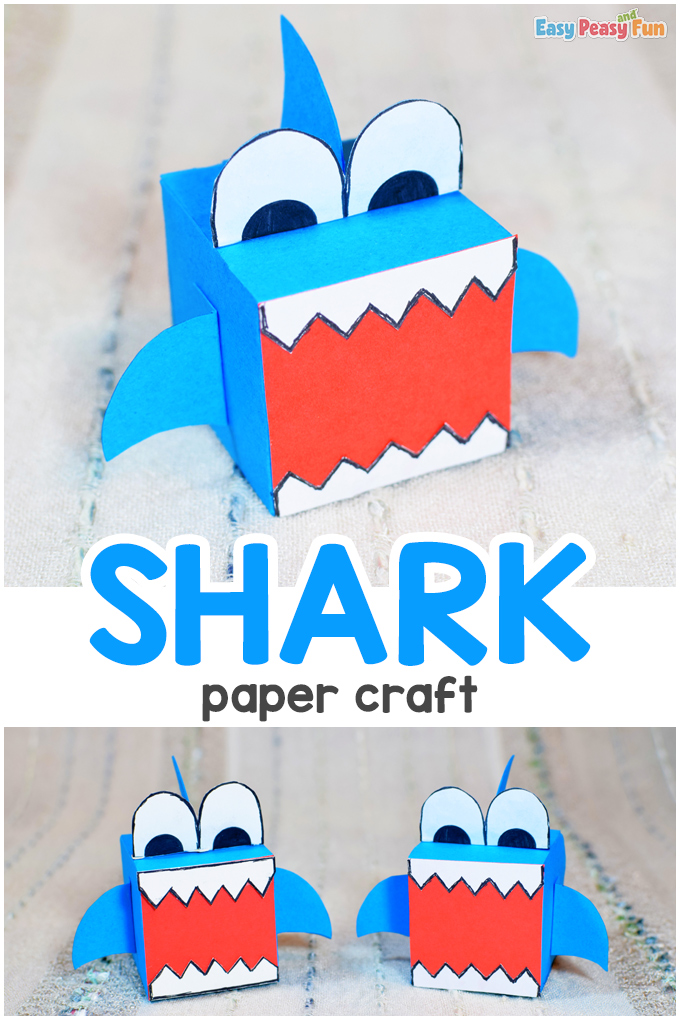
The summer is perfect to get creative and make some ocean animals, so this time we'll show you how to make your own Shark Paper Toy.
*this post contains affiliate links*
You know we love Shark Crafts and we have a bunch of fun projects to share (check out our Printable Shark Puppet and make a neat Shark Corner Bookmark).
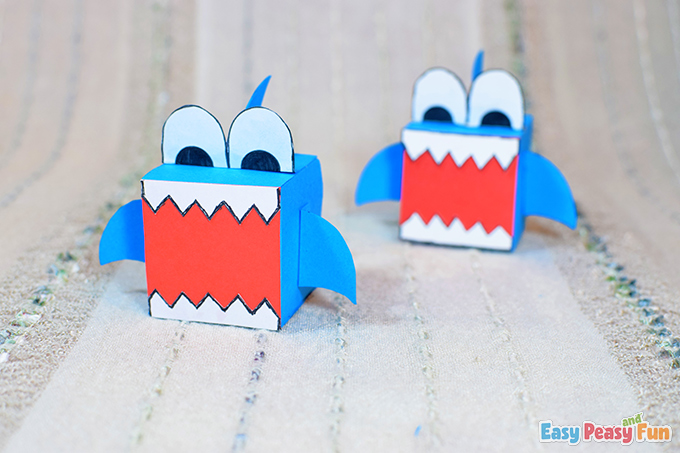
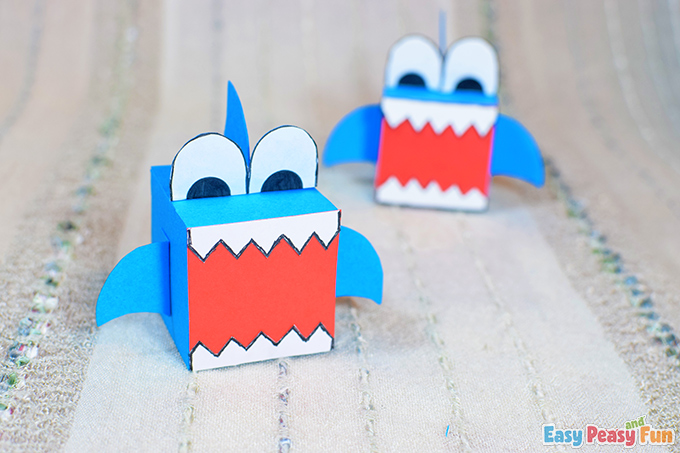
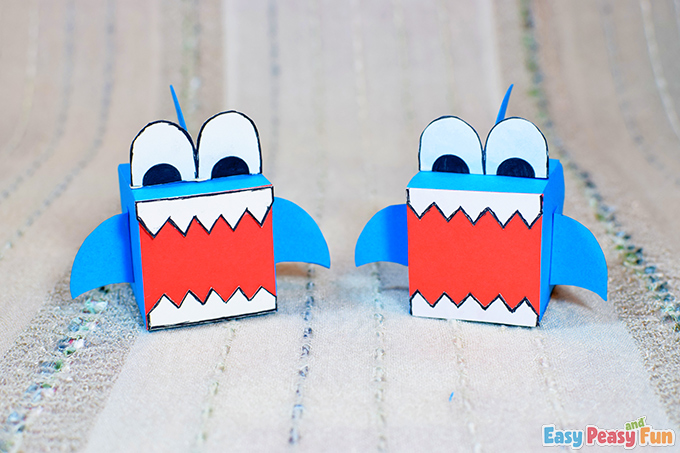
Today we are sharing these awesome shark surprise boxes with you.
We bet you have never made themed boxes with treats inside for celebrating your birthday at school before!
And guess what? We still love to make them for our shark-themed birthdays, put some treats inside them, and gift them to our friends – they are really happy and excited when they get the boxes.
So, if you find this project intriguing enough, jump right in and join us crafting.
How to Make a Shark Paper Toy
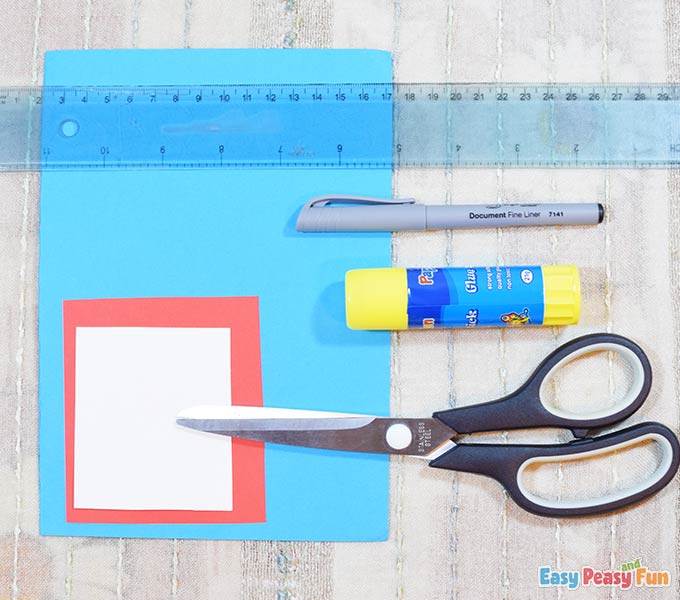
What you need:
- blue cardstock
- red cardstock
- white cardstock
- glue
- scissors
- ruler
- black liner
Let's start!
Step by Step Tutorial
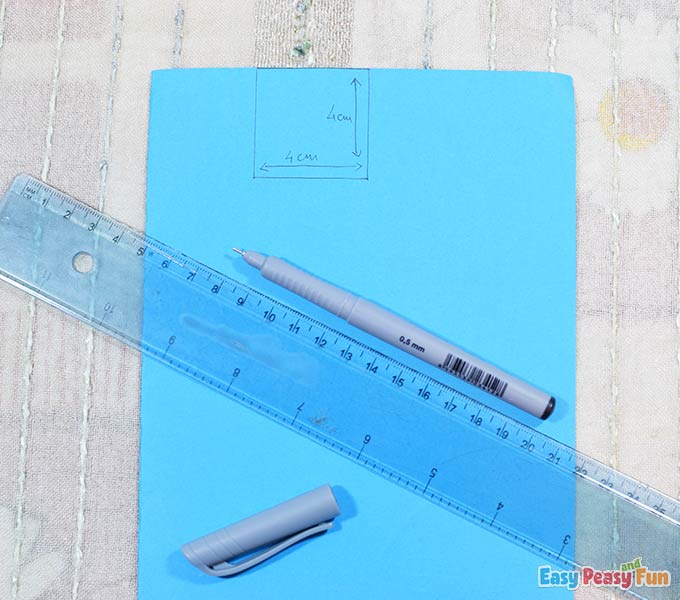
The Body
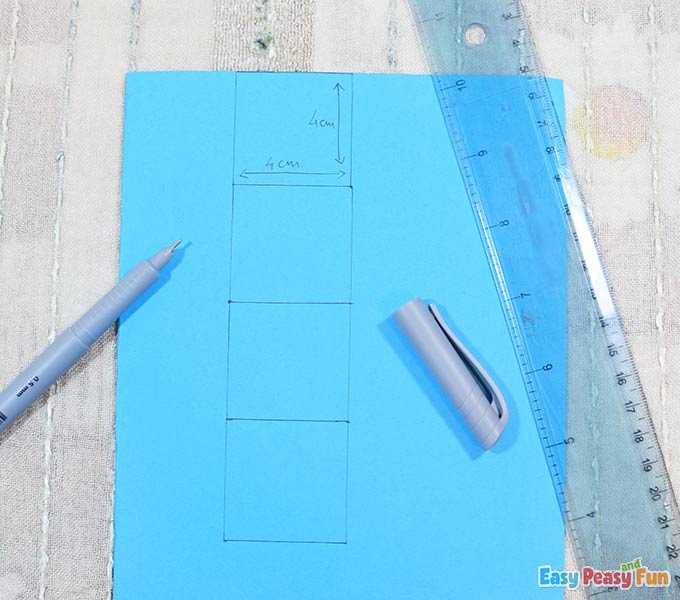
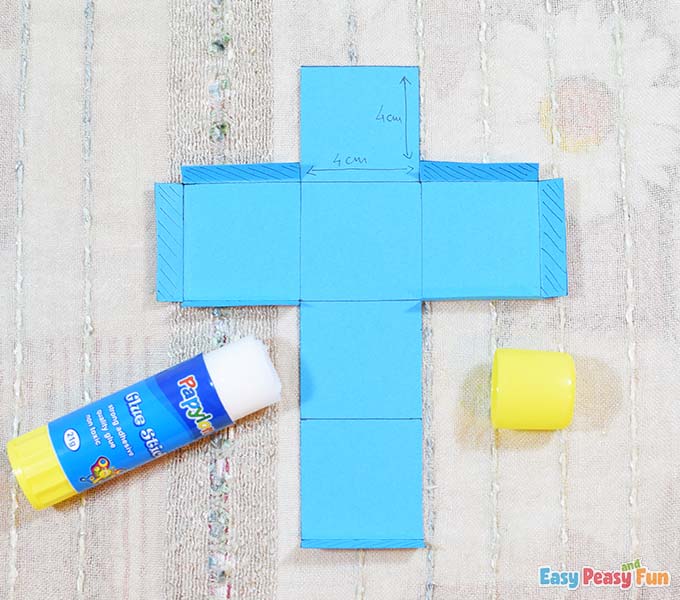
Draw a 4 x 4 cm square on the blue cardstock.
Draw three squares of the same size vertically.
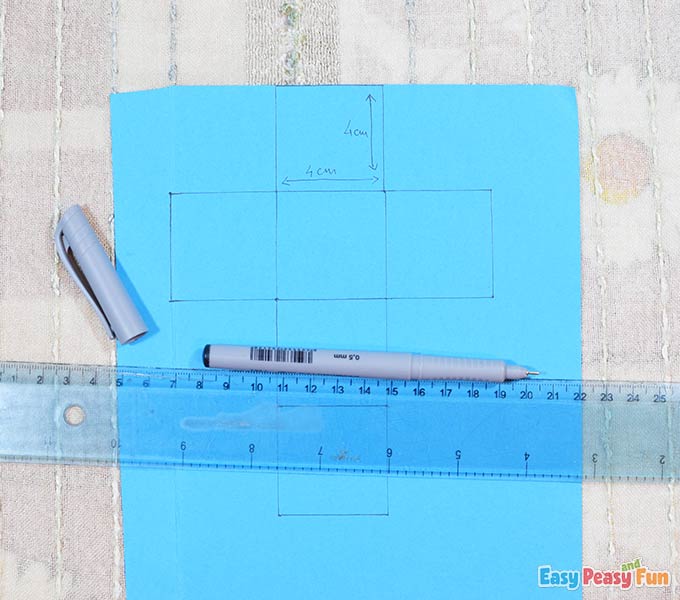
Now draw two squares on each side of the second vertical square.
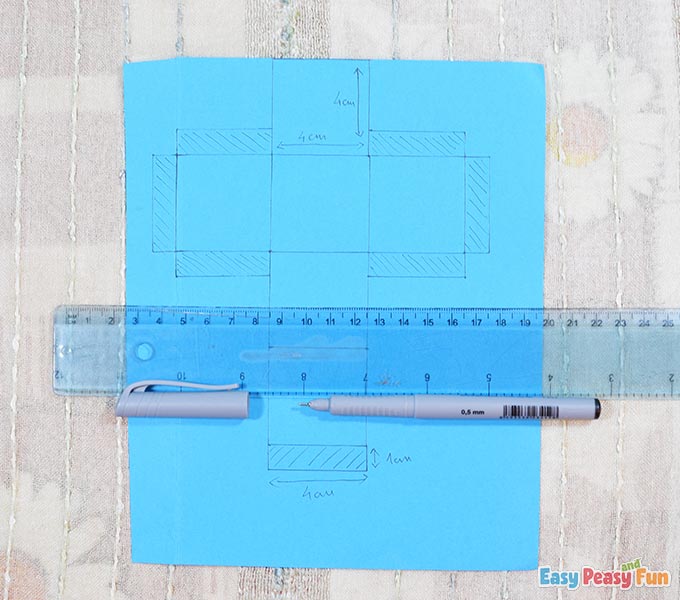
Now draw the seven 1 x 4 cm rectangles you see on the picture (we marked them with dashes for guidance).
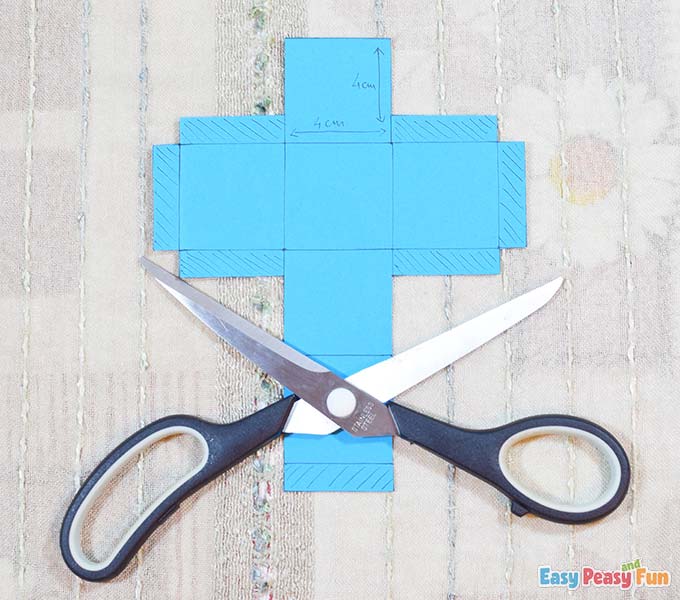
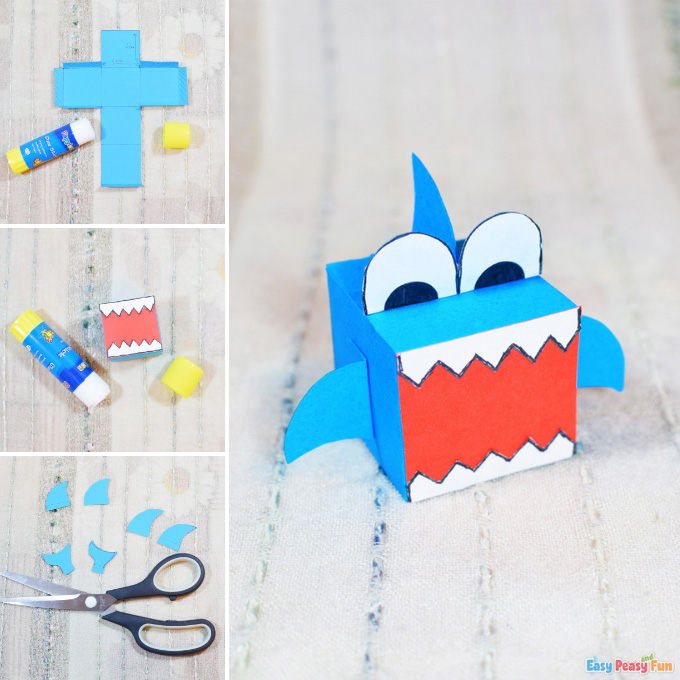
Take your scissors and cut the whole shape out.
Make some folds where the black lines are so you can assemble the box.
Put some glue on the back of the side rectangles only (the ones that are parallel to each other).
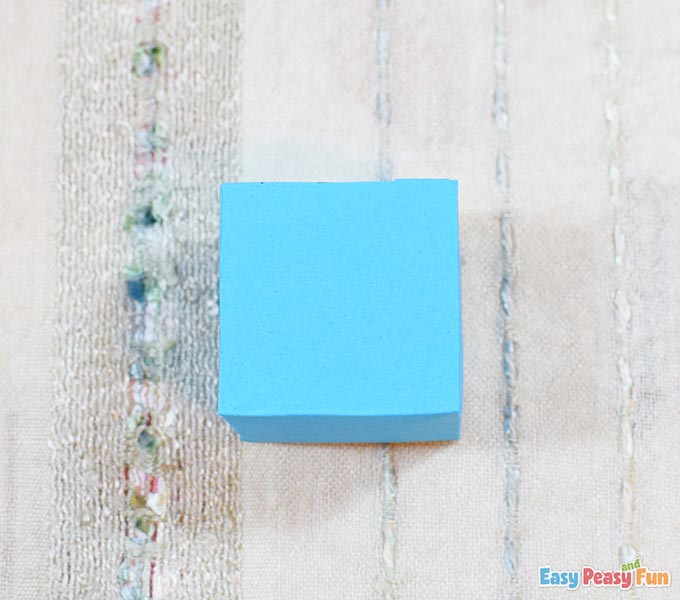
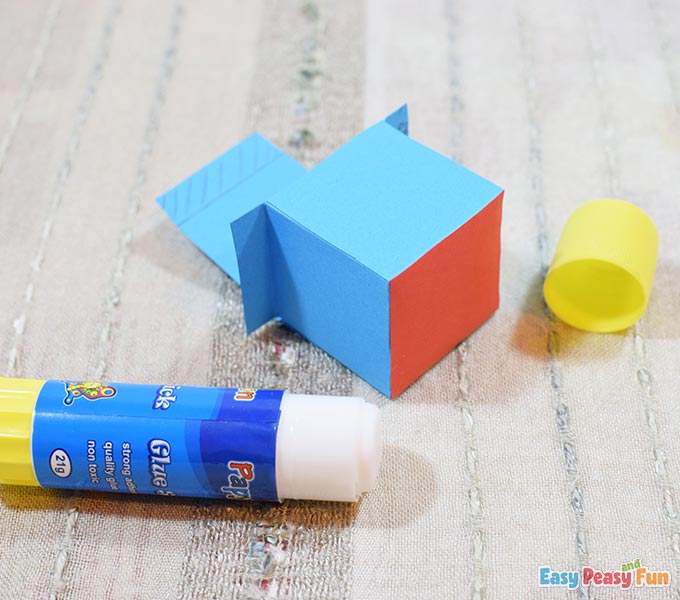
Assemble the box.

This is how the box should look when closed.
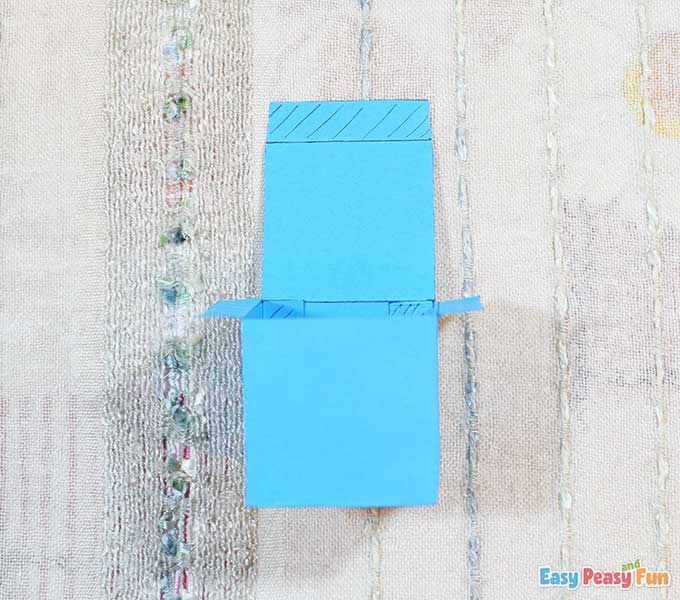
This is how the box should look when opened.
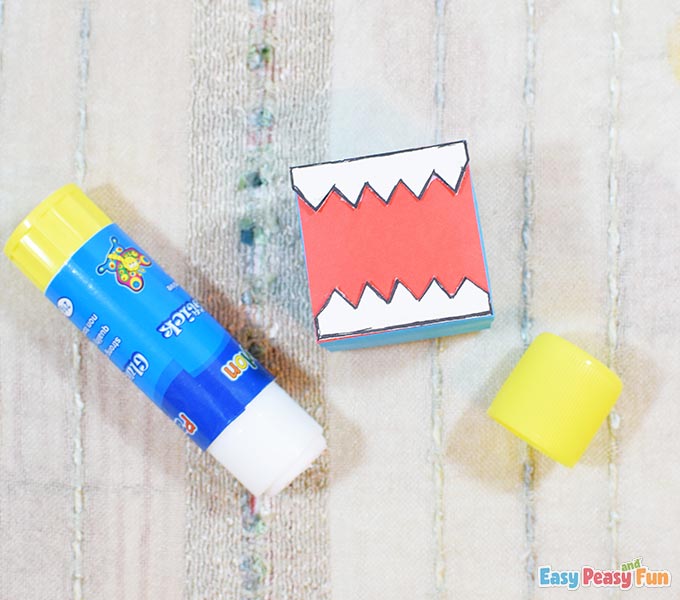
The Mouth
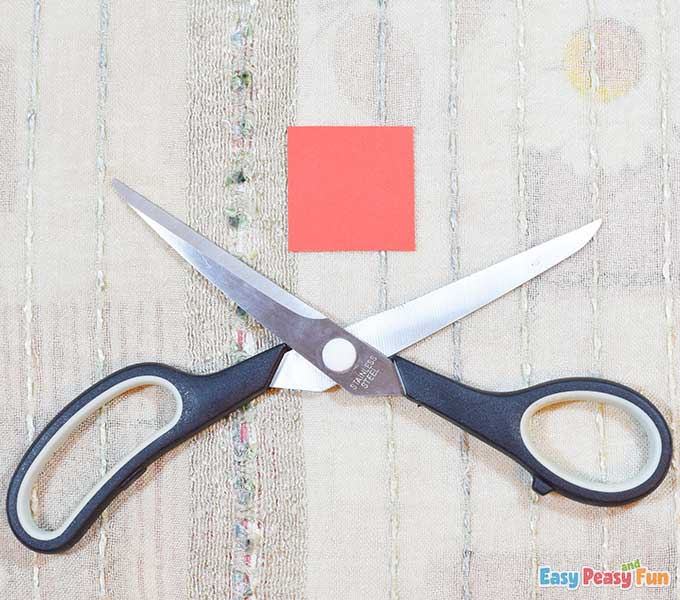
Draw a 4 x 4 cm red square.
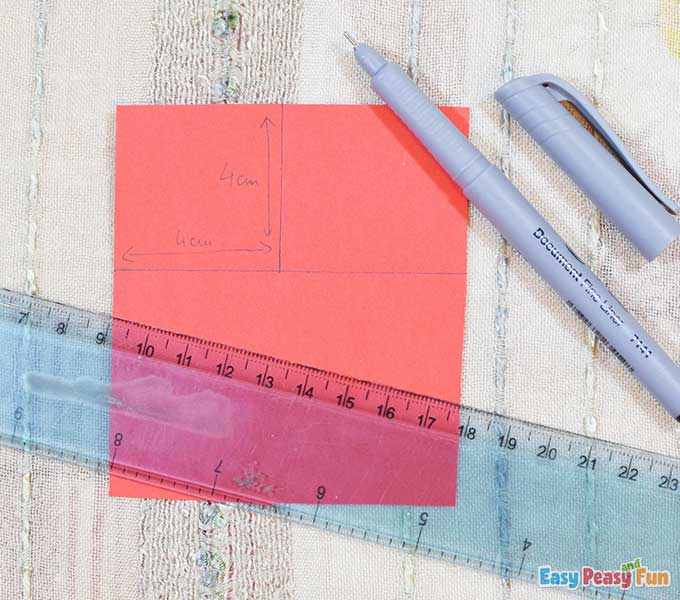
Cut it out.
Glue the square on the front part of the box. Notice that the back part of the box is the side that opens.
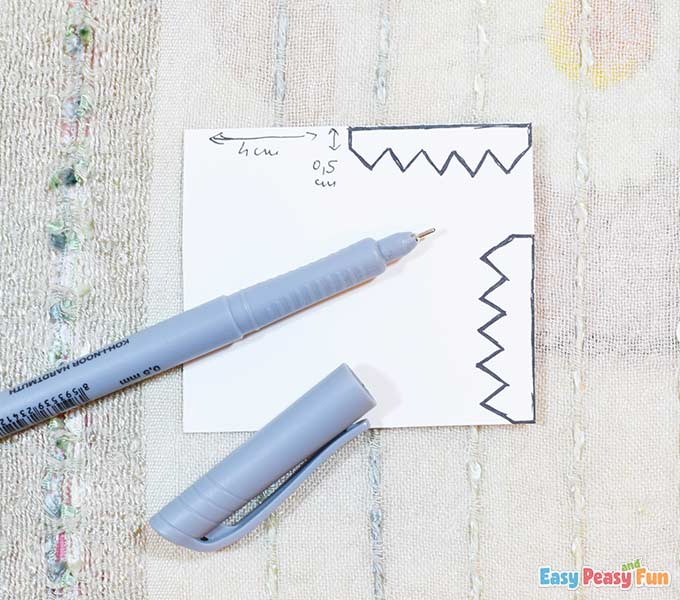
The Teeth
Draw some shark teeth.
Make the two jawlines 4 cm long and 0,5 cm high, then draw five teeth on each jaw.
Cut the teeth out.
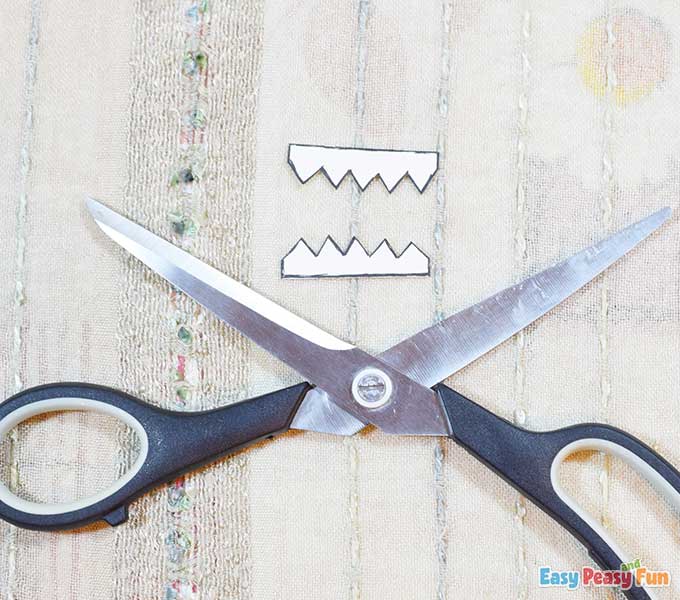
Glue the teeth on the red square, parallel to each other.
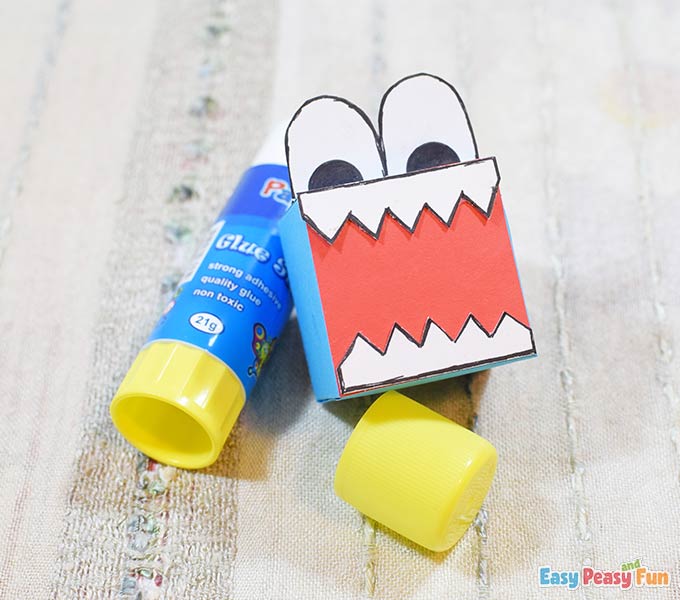
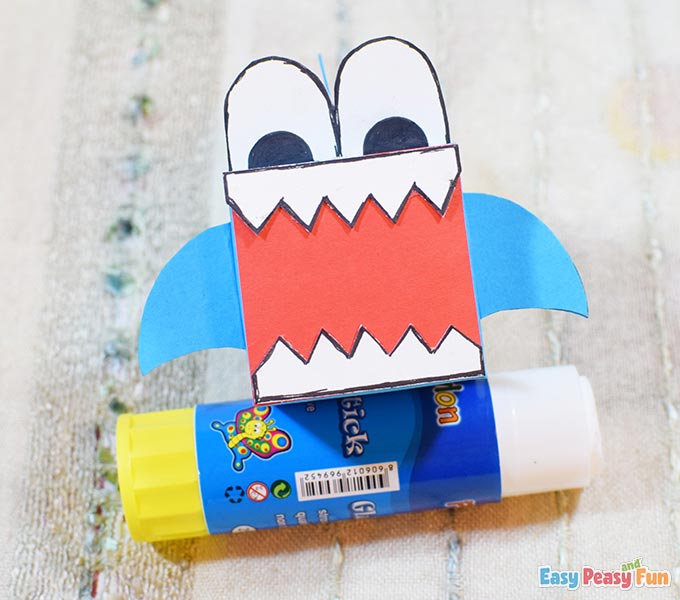
The Eyes
Draw two shark eyes.
Make sure to leave a small part at the bottom of the eyes so you can make a fold. Cut out the eyes.

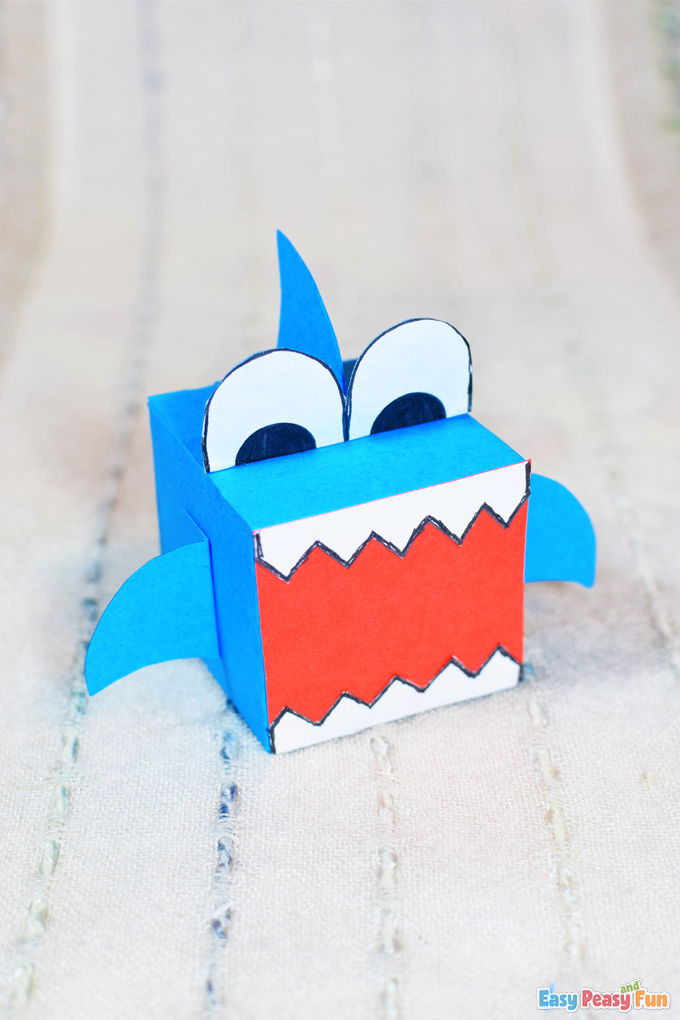
Fold the bottom part of the eyes, apply some glue on it, and attach the eyes on top of the head, near the center of the square.
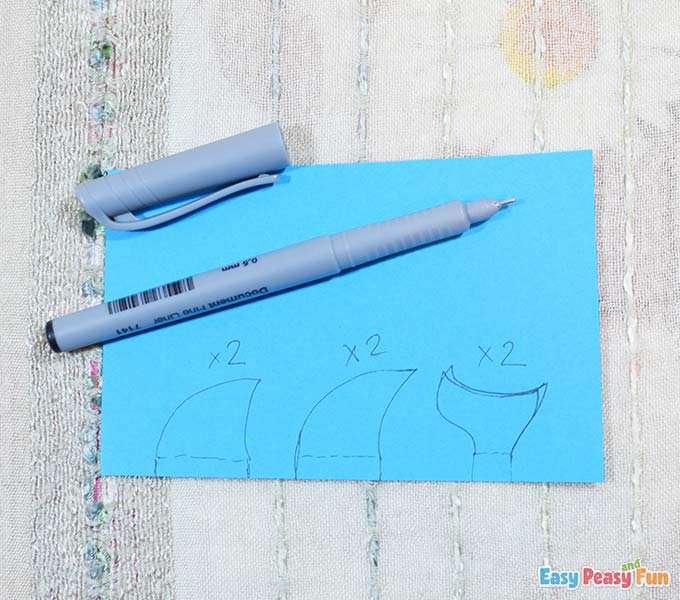
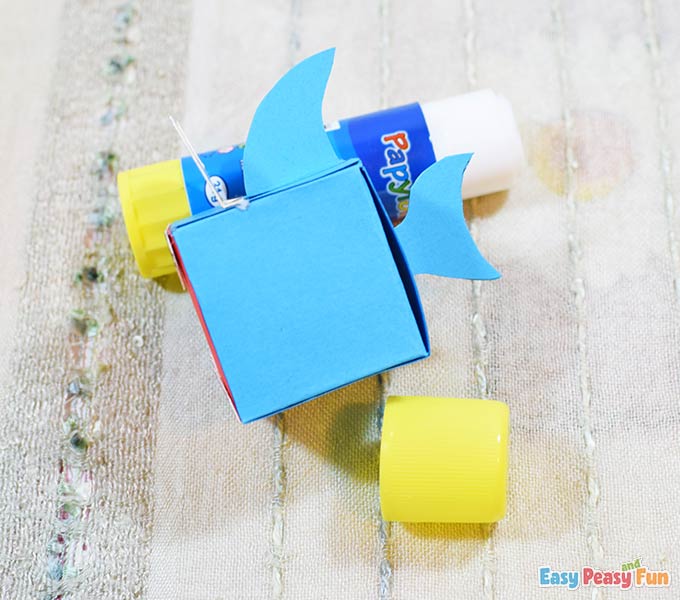
The Fins and Tail
On the blue cardstock, draw two side fins, two back fins, and two tails. Leave small parts at the bottom of them so you can make folds.
Cut them out using scissors.
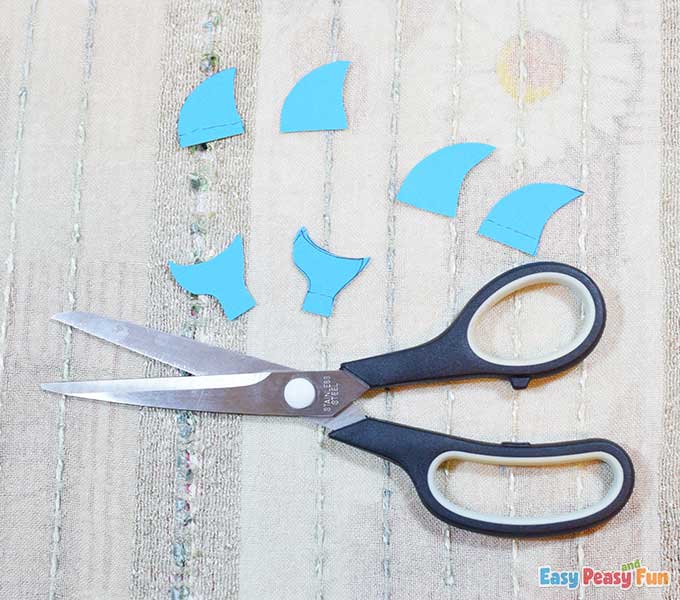
Leave the side fins on the side, divided; glue the back fins together and glue the tails together.
Then fold their bottom parts and apply some glue on them.

Glue the tail on the back of the shark.
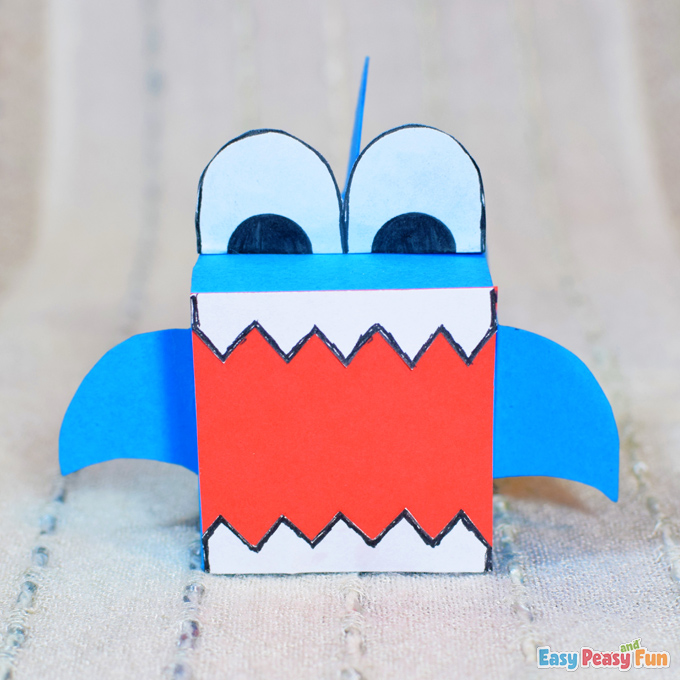
Glue the back fin right behind the eyes on the top of the head.
Apply some glue on the side fins and glue them on each side of the shark's body.
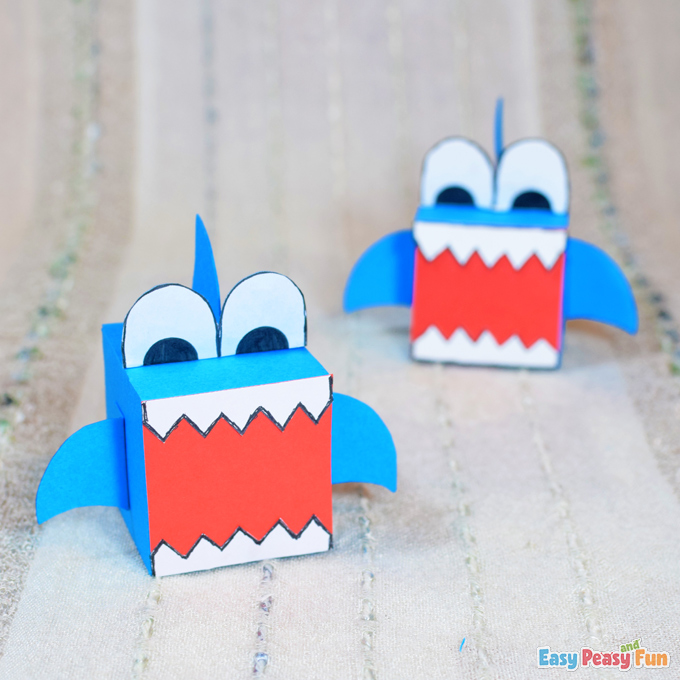
Done!
Hope you love these surprise boxes.
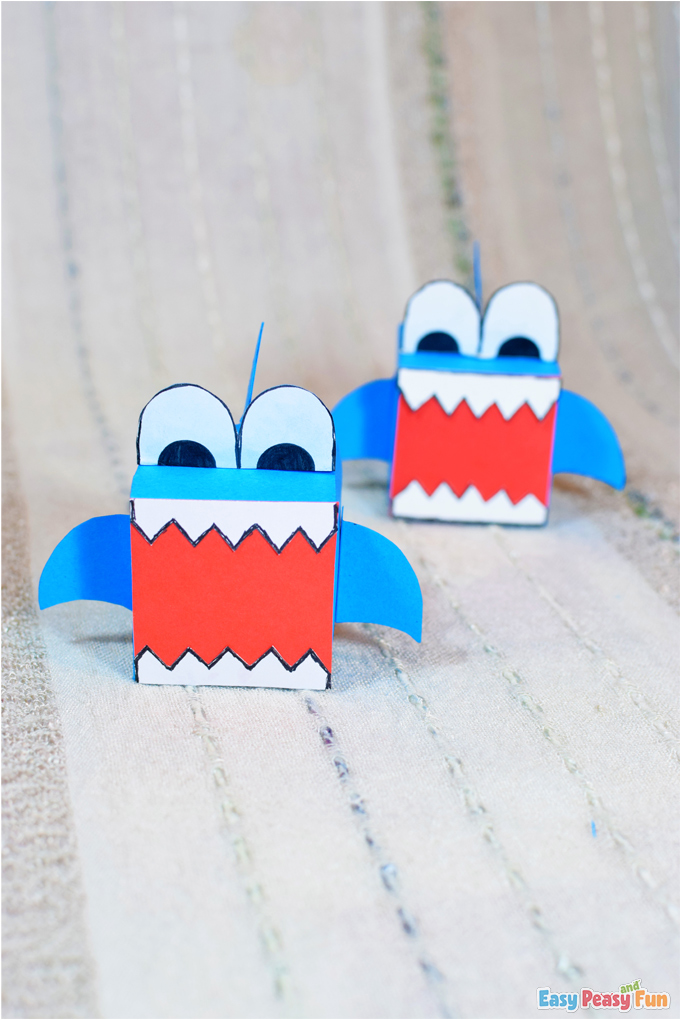
We also have crab and crocodile themed ones and of course, you can always come up with your authentic designs as well.
Enjoy your paper box shark craft.
Happy crafting!
Get your Shark Paper Toy Template Here

Unlock VIP Printables - Become a Member
 Become a member of Easy Peasy and Fun membership and gain access to our exclusive craft templates and educational printables. With brand new resources added on weekly basis you will never run out of fun things to make with your kids (either as a parent or as a teacher).
Source: https://www.easypeasyandfun.com/shark-paper-toy/
0 Response to "Easy Peasy and Fun Snowglobe Contact Paper"
Post a Comment